
Romance Travel Package Ideas: 15 Templates Hotels Can Launch This Month
Ready-to-use romance travel package templates for hotels — from classic honeymoons to eco-getaways, with inclusions, pricing strategy, and marketing angles for each.
Read More →
Join the only platform built to connect you with couples planning honeymoons, weddings, and romantic getaways—and help you convert every lead.
Connect with high-intent couples planning honeymoons, destination weddings, and romantic getaways. Get qualified leads through TripLeadEngine™—and close more bookings with expert training from our Sales Accelerator program.
Why LOVU Works
Everything you need to capture the booming romance travel market and turn interest into bookings.
Reach travelers who are already searching with purpose: to celebrate love, connection, and special moments.
These aren’t deal hunters. They’re emotion-driven travelers ready to invest in meaningful experiences.
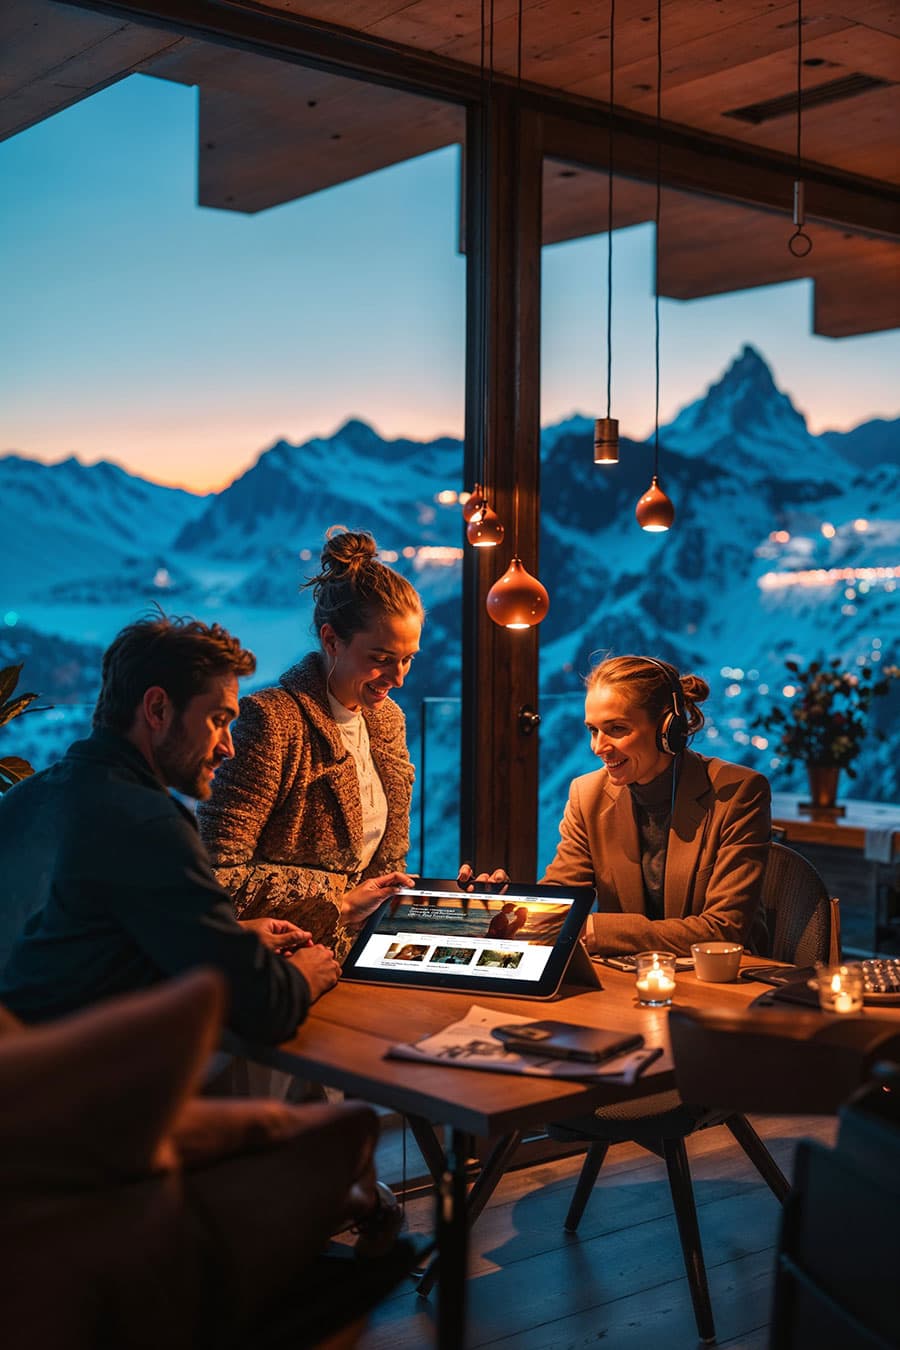
Leverage a network of hand-picked travel experts specializing in romance travel who can respond to booking inquiries.
From beachfront candlelit dinners to private plunge pools and dreamy sunset views, LOVU helps highlight details that turn heads—and hearts.
Turn More Wedding & Travel Inquiries Into Bookings—Fast. Our Sales Accelerator, led by expert Alan Berg, CSP, gives travel pros scripts, strategies, and confidence to close more leads with ease.

Get Started
Joining LOVU is Simple
Create your business profile on LOVU in minutes.
Your profile goes live, showcasing your services to romance travelers and travel advisors.
Receive qualified booking inquiries from couples worldwide.
Victoria H.
Luxury Romance Travel Advisor
One of the best parts about LOVU is how it markets me as a romance travel expert. My profile highlights my experience, affiliations, and specializations, making it easier for couples and hotels to find and trust my services. Being positioned as an expert has helped me attract more premium clients who appreciate my knowledge and personalized approach. LOVU has truly elevate my brand!
Feb 26, 2025
Sophia L.
Boutique Honeymoon & Wedding Planner
LOVU doesn’t just send random leads—it delivers high-intent couples who are genuinely looking for expert assistance. I can respond directly to booking requests from both couples and hotels looking for a trusted travel advisor to assist with the planning. The ability to quickly communicate and secure bookings has been a huge advantage!
Jan 24, 2025
Jessica W.
Romance & Anniversary Travel Expert
One of the biggest challenges in romance travel is finding serious clients ready to make decisions. LOVU takes the guesswork out of lead generation by connecting me directly with couples looking for professional guidance. The inquiries I get are detailed, allowing me to tailor my services quickly and effectively!
Oct 18, 2024
Candius K.
Destination Wedding & Group Travel Advisor
LOVU has significantly boosted my destination wedding business. Couples who inquire through the platform are already familiar with top venues and eager to book, making the consultation process so much smoother. With LOVU, I’m getting pre-qualified leads from couples ready to finalize their dream wedding!
Sep 8, 2024
Nancy K.
Luxury Honeymoon Planner
Since joining LOVU, I’ve been receiving consistent, high-quality honeymoon inquiries. These aren’t just general leads—they’re couples who have already done some research and are ready to book. The best part? LOVU connects me with travelers who specifically want a travel advisor’s expertise, making it easier to close bookings!
Sep 14, 2024
Csila D.
Destination Wedding Specialist
LOVU has been a game-changer for my destination wedding and honeymoon business. Unlike other platforms where leads can be hit-or-miss, the booking requests I receive from LOVU are from serious couples actively planning their dream wedding or romantic escape. My conversion rate has skyrocketed, and I’m working with clients who truly value my expertise!
Oct 3, 2024
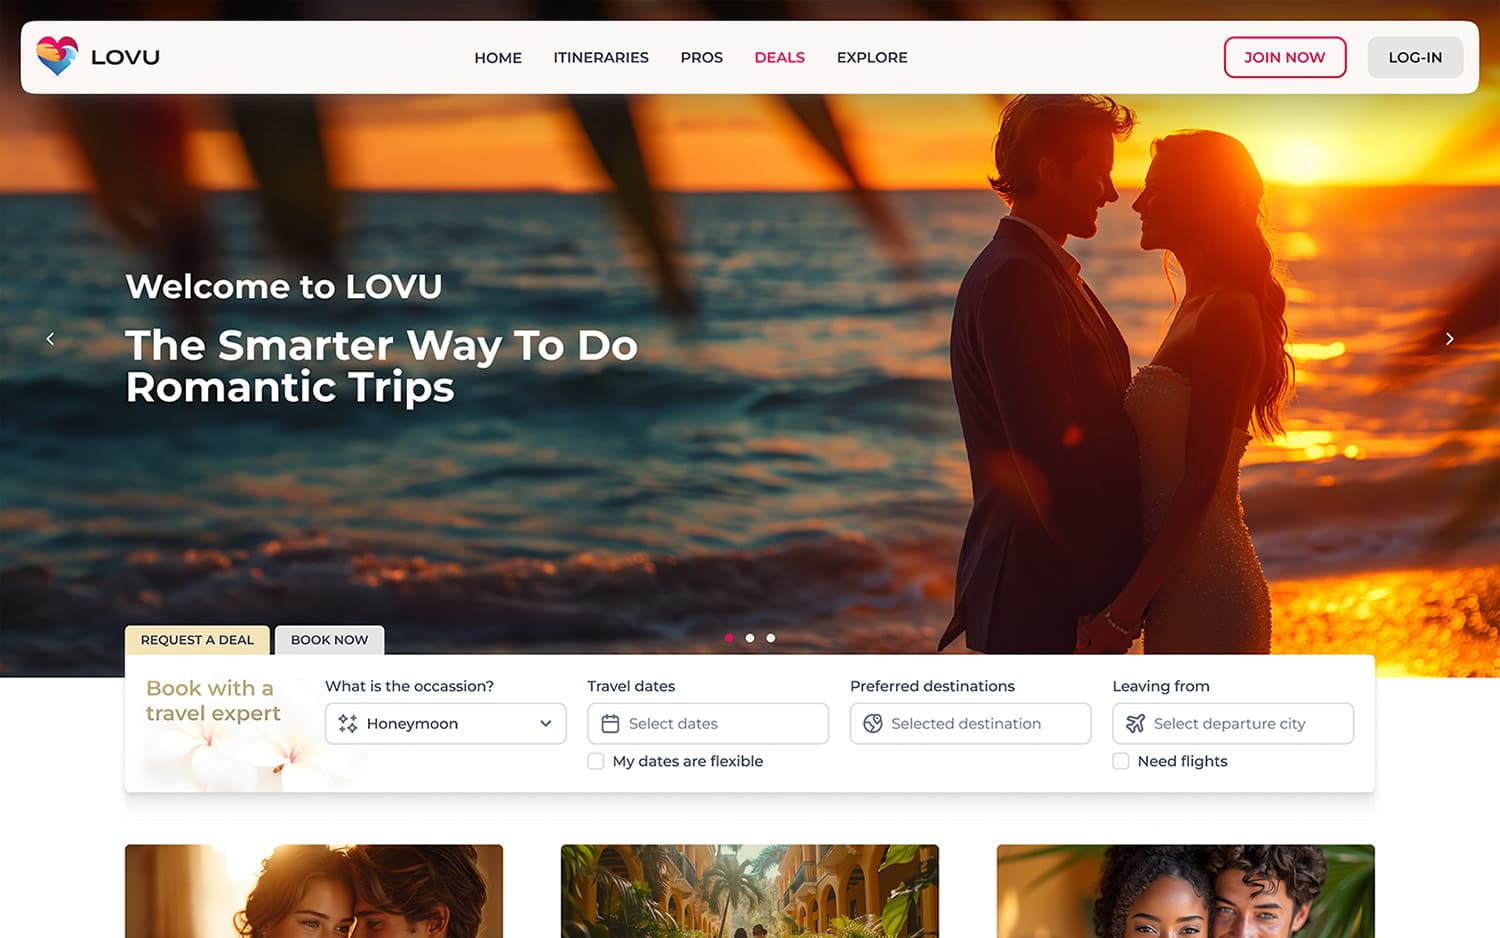
LOVU is the first marketplace dedicated exclusively to romance travel. Designed for providers like you, we make connecting with couples simple and profitable.

